Stonewards Bastion Camps and Stations
Every spend point between waves—what each station does and when to use it first.
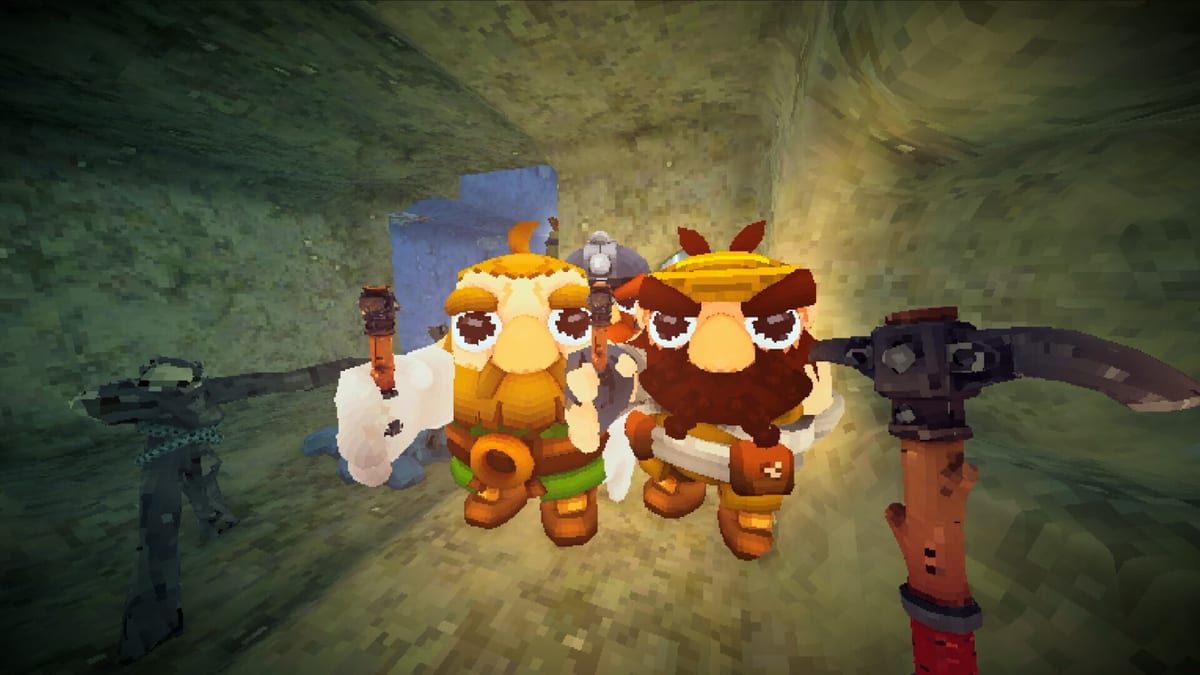
Between monster horns, the bastion transforms from a battlefield into a workshop. Banana Tiger Studio scattered camps and stations around the stronghold so mined ore becomes ammunition, repaired walls, resurrected teammates, and run-defining upgrades. Treating these stations as optional flavor leads to the same failure every time: full pockets, empty quivers, breached King lanes, and a squad staring at the blacksmith wondering why the run ended on wave four.
This page catalogs every major station observed in public demo builds through patch 0.1.10, explains what each one consumes and produces, and gives a spend priority framework you can run solo or call out in co-op. Pair it with Resource Priority Checklist for an interactive checklist and Rings and Relics for blacksmith ring detail.
Station Map at a Glance
| Station | Primary input | Primary output | Urgency tier |
|---|---|---|---|
| Wall repair | Stone, structural materials | Lane integrity | Critical when breached |
| Crafting camp | Metal ore | Arrows, consumables | Critical before horns |
| Blacksmith forge | Deposited ore | Personal upgrades + 4 ring choices | After baselines met |
| Recycling camp | Obsolete gear | Partial resource refund | When inventory clogs |
| Chest opener | Loot crates from caves | Random buffs, gear, scrolls | Flex timing mid-window |
| Campfire | Downed teammates, heal time | Resurrection + healing | After risky horns |
Stations compete for the same inter-wave timer. Horn audio returns whether you finished every visit.
Blacksmith Forge and Ring Choices
The blacksmith forge is the personal power engine. Depositing ore can trigger randomized character upgrades—super jump, knockback, armor, craft speed—and present four ring choices per relevant visit. You pick one ring from four offers; demo feedback treats that limit as hard, not a suggestion to reroll forever.
Forge spending is personal. Your knockback stack does not automatically apply to teammates. That contrasts with post-wave Bonus Cards voted in the lobby, which buff the whole team.
Priority guidance:
- Visit blacksmith after primary lane repairs and baseline crafting camp ammo.
- Coordinate ring picks in co-op so four players do not all grab mining rings while walls lack knockback support.
- Read Forge Upgrades for upgrade stacking and Rings and Relics for synergy builds.
Crafting Camp: Arrows and Combat Sustain
The crafting camp converts metal ore into arrows and related consumables defenders need during the next horn. This station is the antidote to mid-wave embarrassment: watching monsters walk toward the King while your quiver is empty.
Craft speed upgrades—from blacksmith rolls or rings—multiply value here. Assign one co-op player as primary crafter when possible; see Ammo and Crafting for stockpile rules.
Spend priority: Crafting camp sits immediately after emergency wall repair on primary lanes. Skipping arrows to gamble at blacksmith is the most common demo wipe cause after ignoring stone.
Wall Repair: Stone and Lane Integrity
Wall repair stations consume stone and related structural materials to restore bastion segments monsters path through. Repairs are not cosmetic—monsters convert zero-integrity lanes into King access faster than grunts deal direct damage.
Identify primary lanes using Bastion Layout before spending. Repair the lane monsters actually used last horn, not the prettiest outer segment facing empty terrain.
Spend priority: Emergency breaches threatening direct King pathing first, then primary lane functional integrity, then secondary flanks. Stone hauls from Ores and Materials must include structural material—not only shiny metal for crafting.
Recycling Camp: Gear Into Ore
The recycling camp trades unwanted weapons and gear for a partial resource refund. Use it when chest drops or blacksmith swaps leave duplicate tier weapons cluttering inventory, or when you need craft metal but mines are closed by horn timing.
Do not recycle equipped defender gear without a replacement ready. Recycling shines mid-run after power spikes, not horn one when starter weapons are all you have.
Details on weapon tiers: Weapons and Gear.
Chest Opener: Crate Rewards
Miners sometimes return with loot crates from procedural caves. The chest opener station processes those crates into random rewards—gear upgrades, scrolls, team buffs, or relic-like effects depending on patch tables and rarity changes demo patch notes mention.
Chest opening consumes forge-phase time. Assign a flex player to open while defenders repair and crafters batch arrows. Rewards may overlap with Bonus Cards or ring effects—avoid duplicating the same buff category twice in one cycle.
Campfire: Revive and Heal
The campfire is both a social anchor and a mechanical station. Demo patch 0.1.10 emphasized campfire healing and teammate resurrection at the fire—downed dwarves can be revived there, and living players recover health between waves. Carrying dead teammates to campfire received multiplayer fixes in the same patch line; see Campfire and Revive for positioning and timing.
Campfire is not a substitute for wall repair or ammo, but it reduces attrition when bonus cards grant campfire regen or when endless mode after wave eleven grinds your team down.
Post-Wave Bonus Cards Before Stations
Successful waves insert a bonus card vote before economy phase fully opens—team-wide buffs chosen in lobby, not at a physical station. Vote first, then plan station visits around the card outcome. A wall integrity card lets you defer one stone spend; a mining card justifies deeper cave trips.
Full card guide: Bonus Cards.
Recommended Spend Order Between Waves
Use this order unless live breach forces exceptions:
- Bonus card vote when the wave clears.
- Emergency wall repair on King-threatening lanes.
- Crafting camp baseline ammo for every surface defender.
- Primary lane wall repair to functional integrity.
- Campfire revives and healing for downed or injured teammates.
- Chest opener if crates are clogging hauls and time allows.
- Recycling camp if gear duplicates block inventory or ore is short.
- Blacksmith forge deposits, upgrades, and one ring pick from four offers.
- Secondary lane repairs and luxury consumables only if horn timing permits.
Resource Priority Checklist encodes the same sequence with checkboxes.
Co-op Role Splits at Stations
Efficient teams assign station ownership loosely:
- Miner deposits ore, may recycle duplicates, returns to caves last.
- Crafter owns crafting camp batches and calls ammo status.
- Defender prioritizes wall repair on assigned lane and campfire carries for downed allies.
- Flex opens chests, finishes secondary repairs, deposits blacksmith ore when thresholds hit.
Three defenders plus one miner is a common demo pattern when mining buffs outscale combat rings—see Tips and Tricks. Roles collapse if everyone visits blacksmith while primary lane stays broken.
Solo Station Workflow
Solo players run every station themselves. Shorten the list mentally:
- Repair King lane.
- Craft ammo to minimum stockpile.
- Revive yourself at campfire if applicable—solo deaths end runs, but partial health recovery still matters between horns.
- One blacksmith visit if time remains.
- Mine shallow until horn telegraph.
Solo difficulty is publicly high because station visits stack sequentially with no parallel crafter. Bias craft speed and armor upgrades early per Best Early Builds.
Station Mistakes That Lose Runs
- Blacksmith before crafting camp with empty quivers.
- Ignoring stone in cave hauls, then wondering why wall repair station has nothing to consume.
- Opening every chest while primary lane is breached.
- Four players at forge while nobody repairs.
- Skipping campfire when teammates are down and revivable.
- Confusing team bonus cards with personal forge power.
Hub Stations vs Bastion Stations
Hub shops and character select persist between missions. Bastion stations reset each deployment. Hub purchases raise baselines; in-run stations spend ore mined this attempt only. New players confuse the economies and hoard run ore for hub buys that do not exist mid-mission.
Related Pages
- Items Hub — Ores, weapons, and ring detail.
- Builds Hub — Forge philosophy and bonus cards.
- Combat Hub — Campfire revive and boss pressure.
- Map Hub — Bastion layout and mine entrances.
Staying Current
Station names, ore costs, and ring pools may shift during Early Access from August 11, 2026. Station roles—stone for walls, metal for arrows, ore for blacksmith, gear for recycling, crates for opener, campfire for revive—are stable design pillars. Update numeric values from Steam patch notes; keep priority order from this page.
Frequently Asked Questions
Quick answers to the most common Stonewards questions.
What stations exist in the bastion between waves?
Blacksmith forge, crafting camp, wall repair, recycling camp, chest opener, and campfire for revive and healing—plus lobby bonus card votes after clears.
Which station should I use first after mining?
Emergency wall repair, then crafting camp ammo, then campfire revives if needed. Blacksmith forge comes after baselines—see [Resource Priority Checklist](/tools/resource-priority/).
How many ring choices does the blacksmith offer?
Four ring options per relevant visit. Pick one that complements team roles—details in [Rings and Relics](/items/rings-and-relics/).
What does the recycling camp do?
Trades unwanted gear for partial resource refunds, useful when chest drops clutter inventory or you need craft metal quickly.
Can the campfire resurrect teammates?
Yes. Demo patch 0.1.10 improved resurrection and healing at campfire—read [Campfire and Revive](/combat/campfire-and-revive/) for carry and timing rules.
How do bonus cards relate to stations?
Bonus cards are team lobby votes before economy phase; stations spend ore and materials afterward. See [Bonus Cards](/builds/bonus-cards/).