Stonewards Bosses, Elites, and Wave Eleven
Milestone pressure, endless escalation, and focus fire when color-coded bosses assault the bastion.
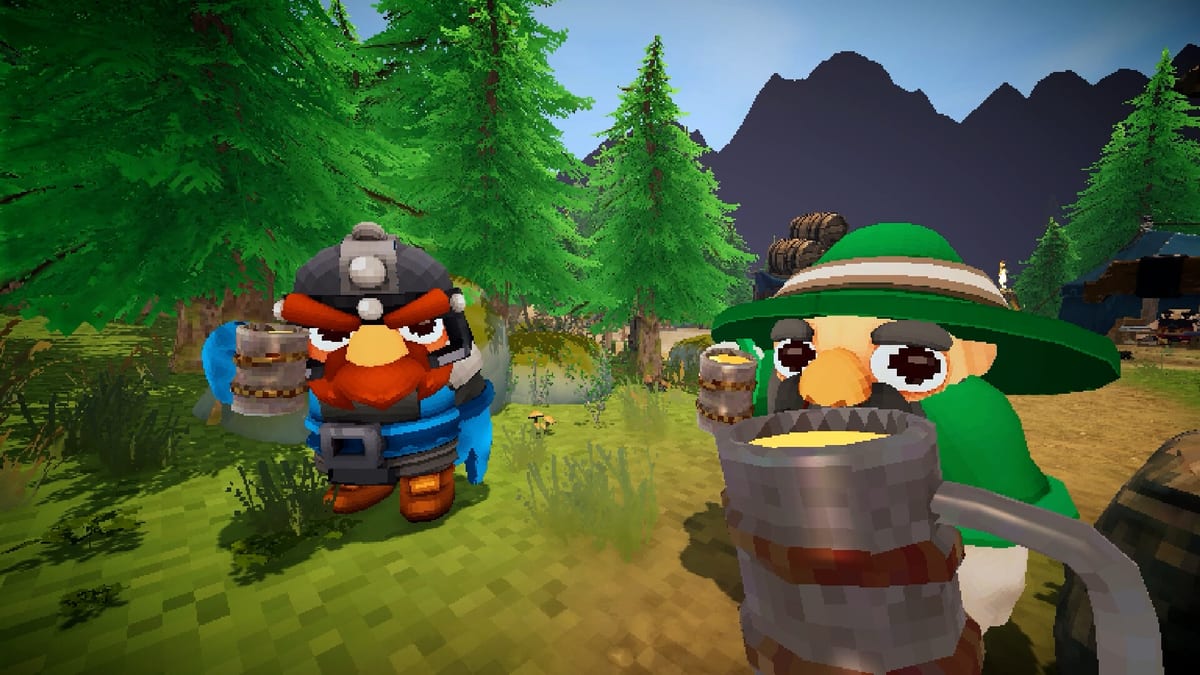
Early horns in Stonewards teach lane discipline with grunts and wall breakers. Later horns introduce elite pressure and boss-class encounters that punish economy mistakes you made on wave three—empty quivers, unrepaired primary segments, and forge gambles that never converted into King safety. Banana Tiger Studio escalates missions toward a wave eleven milestone where teams choose endless mode or return to the hub for meta rewards. Boss presentation in public demos used color-coded names as a work-in-progress readability aid; treat those labels as telegraphs for priority targeting, not final lore.
This page covers elite and boss behavior categories, wave eleven decision points, focus fire under mixed spawns, and ammo preparation so milestone horns do not become accidental run endings.
Elites vs Bosses: Practical Definitions
Wiki pages sometimes blur terminology. For Stonewards combat planning:
Elites — Tougher-than-grunt units with specialized behaviors appearing mid-run: extra health, faster pathing, enhanced wall damage, or ranged harassment that stresses repair crews. They may spawn alongside normal packs and demand immediate focus fire when they execute the win condition faster than grunts.
Bosses — Milestone threats at later horns—often tied to wave eleven pacing in demo playtests—with large health pools, add spawns, or lane-wide pressure. Demo UI showed color-coded boss names to help squads call targets quickly during chaotic horns.
Both categories test whether your team spent mining windows correctly. Neither cares about hub cosmetics.
Detailed grunt and breaker taxonomy: Monster Types.
Color-Coded Boss Names in Demo Builds
Early demo footage and playtest notes reference color-coded boss names—visual or text highlights distinguishing boss-class enemies from elite adds. Colors function as callout shorthand in voice comms: “red name on primary” beats describing model geometry mid-horn.
Expect renaming, palette changes, or UI polish during Early Access starting August 11, 2026. Tactical job remains:
- Identify which spawn is boss-class versus add.
- Decide whether adds or boss represents faster King death.
- Assign co-op players before horn audio peaks—not after half the squad is down.
Do not memorize demo names as permanent; memorize priority framework below.
Wave Eleven Milestone
Public playtests consistently reference wave eleven as a structural milestone:
- Before wave eleven: Economy mistakes are forgiving if you stabilize repairs and ammo by mid-run.
- At wave eleven: Teams often face a boss or elite spike that audits your forge history.
- After wave eleven: Choose endless escalation—horns continue with rising pressure—or extract to hub for meta rewards and persistent progression from How to Use the Hub.
Endless mode is not a separate game mode—it is the same bastion with no forgiveness clock. Attrition from Campfire and Revive systems, Bonus Cards that favor regen, and repair stone hauls matter more when horns never stop.
Hub extraction makes sense when:
- Meta currency or unlock progress beats risking a fragile endless streak.
- Squad fatigue or ammo debt makes further horns likely to kill the King.
- You want to bank rewards before Banana Tiger Studio balance passes change enemy tables.
Endless makes sense when:
- Walls, ammo, and team buffs are stable.
- Co-op comms are clean and roles defined.
- You are practicing focus fire for community challenges or personal records.
King Protection Under Boss Pressure
Boss encounters stress King protection more than grunt horns because adds and boss pathing converge on throne approaches simultaneously. How to Defend the King principles intensify:
- Never leave primary lane unstaffed to chase boss damage if grunts are walking the King path.
- Repair inner chokes before outer cosmetics when boss mechanics force Bastion Fallback.
- Call King chip damage immediately—some boss attacks bypass outer walls entirely in demo patterns.
Boss DPS races are worthless if a single rusher touches the monarch while everyone focuses the color-coded name.
Focus Fire Priority During Boss Horns
When elites, bosses, and grunts overlap, use this ladder and adjust live:
- Anything damaging the King or inside inner corridors now.
- Wall breakers on active primary lane while boss is not yet in King range.
- Boss-class target if adds are controlled and boss damage to structure exceeds add pressure.
- Elite adds spawning faster than grunts can be ignored.
- Grunt cleanup once structural threats stabilize.
Co-op split example:
- Two defenders hold primary lane grunts and breakers.
- One flex kills elite adds or rushers flanking toward campfire.
- One DPS focus burns boss when callout confirms King lane is stable.
Solo players cannot split—shorten mining before milestone horns so you enter with full ammo and repaired primary lane, then accept that boss horns are gear checks.
Ammo Preparation Before Milestone Horns
Boss and elite horns consume ammunition faster than early waves because time-to-kill rises and add counts stay high. Preparation checklist starting two horns before eleven:
- Craft to two horns of baseline ammo if lobby Bonus Cards did not grant damage or wall help—see Ammo and Crafting.
- Stock control consumables if forge rolled knockback or explosive variants.
- Confirm every defender reported full quiver before mining deep—empty archer during boss horn is a team wipe in co-op and solo alike.
- Deposit ore for blacksmith only after ammo and primary repairs meet thresholds from Resource Priority Checklist.
Running out of arrows mid-boss while color-coded name is at fifty percent health is a forge planning failure, not RNG.
Elite Spawn Patterns and Wall Debt
Elites often appear when wall debt accumulates—segments below functional integrity that breakers and bosses exploit. If elite horns feel sudden, audit last three economy phases:
- Did miners skip stone for metal-only hauls?
- Did team vote mining bonus cards while primary lane was cracked?
- Did blacksmith eat ore that should have funded Camps and Stations wall repair?
Fix economy before blaming elite tuning.
Endless Mode Escalation
After choosing endless past wave eleven:
- Enemy density and elite frequency rise—sustained defense cards beat burst damage votes.
- Campfire and Revive attrition management becomes primary limiter.
- Ore windows feel shorter psychologically even when timers are unchanged—mine shallow, spend correctly, avoid hero mining trips.
- Hub meta rewards wait until you extract—endless is risk/reward, not mandatory.
Solo Boss and Elite Adjustments
Solo difficulty is publicly hard because one player must mine, craft, repair, and focus fire simultaneously. Milestone horns punish solo hardest:
- Enter wave eleven+ with craft speed or armor upgrades when possible per Best Early Builds.
- Skip endless unless ammo and walls are perfect—hub extraction is valid strategy.
- Use Tips and Tricks mine timer rules; boss horns are not the time for deep rare ore.
Co-op Callouts for Boss Horns
- “Boss primary—lane stable”
- “Adds inner—ignore boss”
- “King chip—rotate”
- “Ammo red—hold choke”
- “Eleven next—craft double”
Pair with Wave Defense lane assignments established before horn one.
Post-Wave Planning After Boss Clears
Surviving a boss horn does not end pressure—bonus card vote, then economy phase, then possibly endless continuation:
- Vote regen or wall if attrition was high.
- Revive and heal at campfire before mining.
- Repair primary lane first—bosses often break exactly the segment you ignored.
- Refill ammo before celebrating forge upgrades.
Common Boss Horn Mistakes
- Tunnel vision on color-coded name while grunts walk the King path.
- Entering wave eleven with empty quivers after greedy blacksmith session.
- Choosing endless with cracked inner chokes and no campfire regen card.
- Spreading damage across all adds equally instead of executing priority ladder.
- Assuming demo boss names match Early Access final UI.
Related Pages
- Combat Hub — Wave defense and monster types.
- Monster Types — Breakers, rushers, swarms.
- Wave Defense — Horn timing and lane discipline.
- Builds Hub — Ammo and bonus card planning.
Staying Current
Boss names, colors, health values, and wave eleven rewards may change during nine-to-twelve months of planned Early Access. Behavioral framework—protect King, prep ammo two horns early, choose endless deliberately—tracks Banana Tiger Studio’s milestone design. Update specifics from Steam patch notes.
Frequently Asked Questions
Quick answers to the most common Stonewards questions.
When do bosses appear in Stonewards?
Public demos place boss-class encounters around milestone horns, often tied to wave eleven pacing. Exact timing may shift in Early Access patches.
What are color-coded boss names?
Demo UI highlighted boss-class enemies with color-coded names for quick callouts. Treat them as priority targets, not final lore names.
What happens after wave eleven?
Teams typically choose endless escalation or return to the hub for meta rewards. Endless continues horn pressure with rising difficulty.
How much ammo do I need before boss horns?
Aim for two horns of baseline ammo starting two waves before milestones if team buffs are weak—see [Ammo and Crafting](/builds/ammo-and-crafting/).
Should I focus the boss or adds first?
Default: King threats first, then breakers, then boss if adds are controlled. If adds reach the King faster, kill adds first.
Is endless mode required after wave eleven?
No. Extract to hub for meta progression when attrition, ammo debt, or fatigue makes further horns risky.