How to Mine Fast in Stonewards
Procedural caves, ore economy, and safe return timing between monster waves.
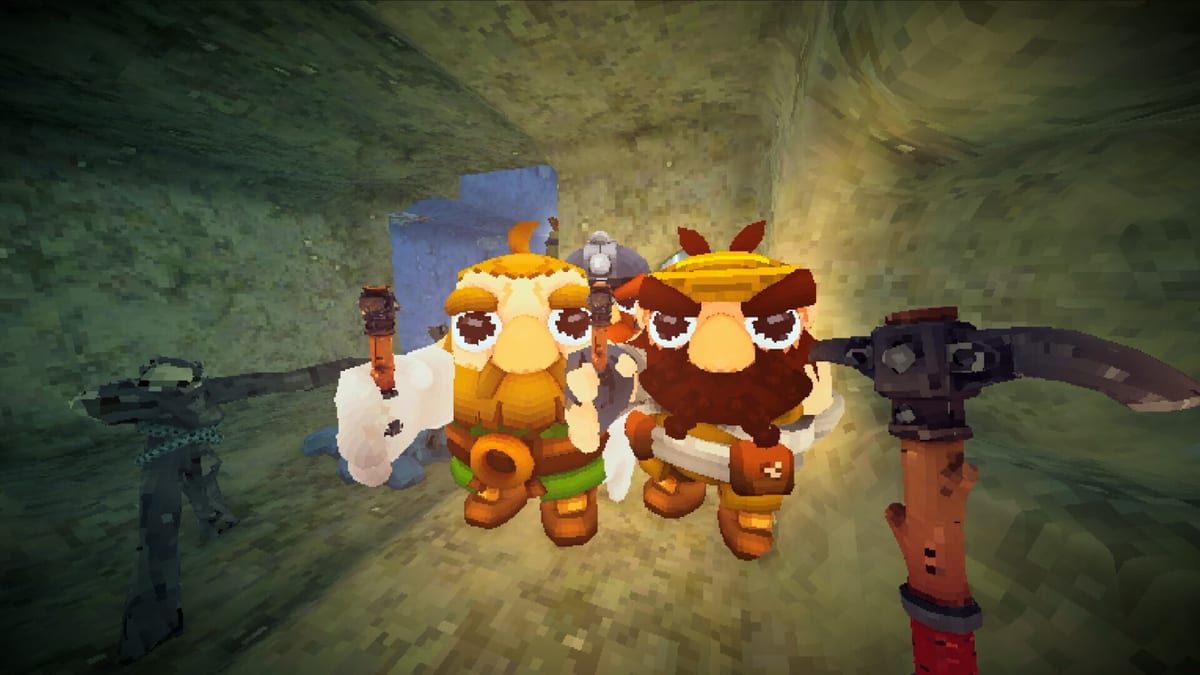
Mining is half of Stonewards. Banana Tiger Studio’s first-person roguelite defense loop sends you into procedural caves between monster waves to gather ore that fuels ammunition, wall repairs, and randomized forge upgrades. Mine too little and you enter the next wave with empty magazines and crumbling lanes. Mine too long and you abandon teammates—or, in solo, arrive after the King already took critical damage. This guide teaches efficient cave play without treating mining as a separate minigame from defense.
Why Mining Decides Runs
Ore is the run’s fuel. Forges convert it into:
- Ammunition to kill waves before enemies stack on the King.
- Wall repairs to close kill lanes toward the monarch.
- Upgrades that skew your build toward damage, sustain, or economy.
Because upgrades include random offers, reliable mining keeps you from gambling on upgrades you cannot afford to take. Players who treat mining as optional quickly discover waves are tuned assuming you craft between them.
Read the Timer Before You Descend
Every mine trip starts with a surface check:
- How much time until the next wave telegraph?
- What does the forge need most—ammo, repairs, or upgrade fuel?
- Who stays on surface if you are in co-op?
If wave audio or UI warnings already started, do not open a new deep branch. Finish a nearby node or abort and surface. The classic co-op failure—one miner chasing a distant vein while three defenders face a full wave—is entirely avoidable with a return callout.
Cave Routing Basics
Procedural caves reward route planning over brute clearing.
Stay Near Exit Paths
Pick nodes along your return line, not at the end of a spaghetti tunnel. When telegraphs begin, you sprint back—not navigate a maze.
Branch Discipline
Open one primary branch per mine window unless your team explicitly calls for a second scout. Parallel branches multiply the chance someone is out of position when waves spawn.
Ore Priority Heuristics
Exact ore types may vary by patch, but general priority holds:
- Immediate forge needs shown by wall damage and ammo count.
- High-yield nodes visible without excessive detour.
- Luxury or rare ore only when baseline needs are covered and timers are generous.
Cross-reference future Builds pages when you chase specific upgrade paths; early runs should not sacrifice baseline ammo for speculative rare ore.
Solo Mining Timers
Solo players perform mining and defense sequentially. Rules are stricter:
- Mine in short bursts between waves, not one long expedition every other wave.
- Pre-craft ammo before entering caves if the forge allows partial prep.
- Never assume you can kill a wave with melee or leftovers—verify mag counts on surface before descending.
Solo King deaths from “I was one node away” are timing errors, not difficulty spikes. Set a personal cutoff: when telegraph starts, you are already at the mine mouth.
Co-op Mining Roles
In groups of two to four, assign flexible roles:
| Role | Responsibility |
|---|---|
| Primary miner | Takes the first branch, calls ore type and depth |
| Surface anchor | Stays out of caves during tight timers, handles early spawns |
| Runner | Ferries ore or finishes repairs while miners stay underground briefly |
| Flex | Swaps to surface when wave telegraph begins, no matter mine progress |
Roles are not classes—swap as timers demand. The flex rule matters most: when the team agrees a wave is imminent, the deepest miner turns back.
See How to Co-op in Stonewards for communication templates and recovery after a late return.
Surface Handoff: Forge Before Pride
When you surface, deposit ore and craft in this order unless the King lane is actively breached:
- Ammo to a minimum safe threshold for the next wave tier.
- Repairs on the primary approach toward the King.
- Upgrades that solve your last failure mode.
Skipping straight to flashy upgrades while walls remain broken repeats the same deaths. How to Defend the King explains which wall segments deserve first repair.
Map Knowledge and Sightlines
Cave layout randomization still follows readable patterns—main shafts, side pockets, and dead ends. Map notes on the wiki will catalog recurring layouts as the community documents them. Until then, mark mentally where you turned: left-right-left on the way in becomes left-right-left reversed on panic retreat.
On the bastion side, knowing mine entrance proximity to weak walls helps runners choose whether to repair or escort miners out.
Common Mining Mistakes
- Clearing dead ends with no ore while timers burn.
- Splitting the team into three branches without callouts.
- Hoarding ore in inventory instead of forging before wave spawn.
- Ignoring audio telegraphs because a node glow looked important.
Practice Drill
Run three consecutive attempts focusing only on mining discipline—ignore hub upgrades. Goal: return before every telegraph with enough ore for ammo plus one critical repair. Once consistent, layer combat improvements from Combat and loadout choices from Builds.
If the overall loop still feels unclear, read How to Play Stonewards first, then Getting Started for install and demo context. Controls matter underground too—confirm mining tool bindings and flashlight or visibility settings if caves are dark.
Frequently Asked Questions
Quick answers to the most common Stonewards questions.
What happens if I return from the mine too late?
Your team fights the wave short-handed while you are underground. In solo, the King can take heavy damage or die before you surface. Return at telegraph, not at wave spawn.
Should I prioritize rare ore or basic ore?
Basic ore that fills immediate ammo and repair needs wins early. Chase rare ore only when baseline forge work is done and timers are comfortable.
How many players should mine at once in co-op?
Usually one or two miners while at least one player stays surface as wave timers tighten. All four underground before a telegraph is a common wipe cause.
Does mining strategy differ in solo vs co-op?
Yes. Solo uses shorter, more frequent trips. Co-op uses role splits and callouts but punishes late returns even harder because allies rely on your DPS.
Where do I learn the full dig–forge–defend loop?
[How to Play Stonewards](/guides/how-to-play/) explains how mining fits between waves, forging, and King defense.