Stonewards Combat Systems and Strategy Guide Hub
Wave defense, monster behaviors, bastion positioning, combat-oriented forge upgrades, and survival strategy for Stonewards.
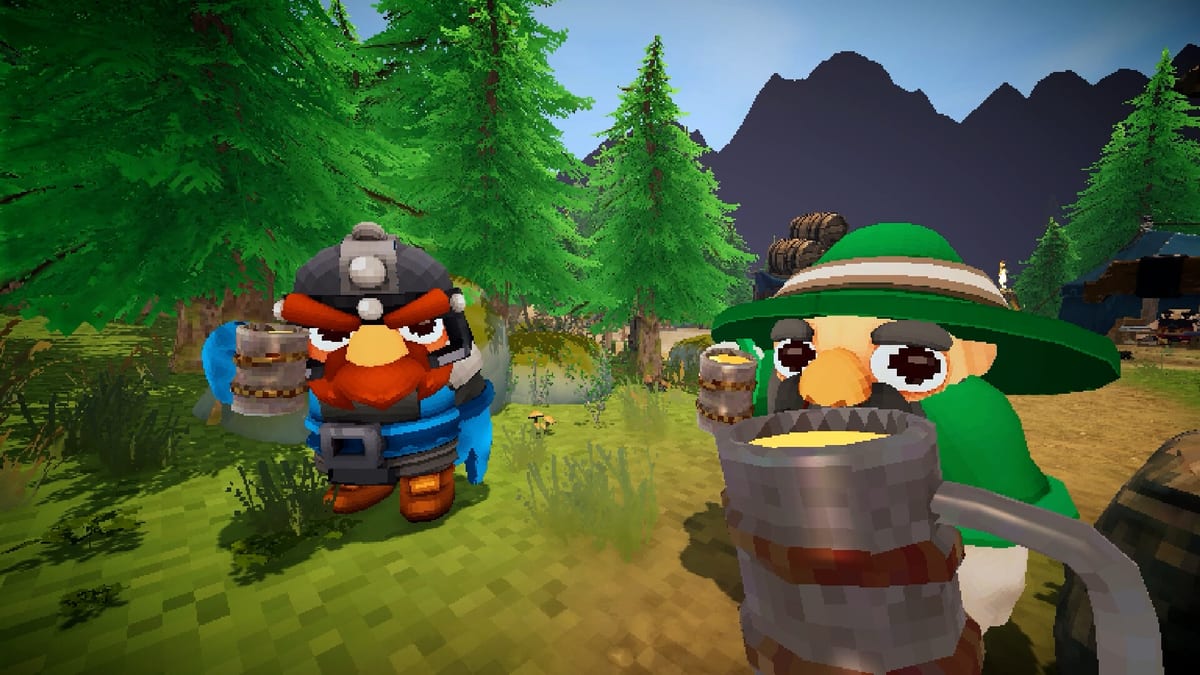
Combat in Stonewards is not a separate arena — it is the surface half of the dig-forge-defend loop that determines whether every run succeeds or ends with the King dead. This hub connects wave defense fundamentals, monster behavior priorities, bastion geography, and combat forge upgrades into a single strategic picture so you can diagnose why your runs end and fix it systematically.
Hub Contents
Wave Defense Fundamentals
- Wave Defense — Horn timing, wall assignments, ammo cadence, and what to finish before the next assault.
- Monster Types — Enemy behavior categories, focus-fire priority ladder, and how monsters punish specific mistakes.
Bastion Geography for Combat
- Bastion Layout — Lane geography, choke points, inner corridor options, and how wall segments connect to King safety.
- Bastion Fallback — Retreat lanes, throne-room choke points, and co-op callouts when outer walls fail.
Recovery and Milestone Combat
- Campfire and Revive — Healing between waves, resurrecting teammates, and when revive beats forge spending.
- Bosses and Elites — Wave eleven milestone, boss behavior categories, and endless mode decisions.
- Endless Mode Strategy — Long-run combat scaling, blacksmith economy, and extraction timing.
Combat Builds and Forge Choices
Combat upgrades at the forge are the other half of survival. After reading wave defense fundamentals, pair with:
- Forge Upgrades — Ore spend categories that include knockback, armor, and weapon upgrades for defenders.
- Upgrade Tier List — Consistent forge picks ranked for combat roles.
- Ammo and Crafting — Keeping weapons loaded during horn pressure.
Pair With
- Wave Prep Planner — A checklist that turns combat knowledge into a repeatable pre-horn routine.
- How to Defend the King — Surface survival procedures that complement bastion geography.
- Resource Priority Checklist — Deciding whether ore goes to ammo, walls, or upgrades before each wave.
How Combat Fits the Overall Loop
Every Stonewards run allocates half its time to surface combat and half to underground mining. Teams that mine well but defend poorly lose runs to monster pressure. Teams that defend well but mine poorly lose runs to empty quivers and unrepaired walls in later waves. Combat skill is necessary but not sufficient — it must be paired with economic awareness about what the forge can sustain.
The guides in this hub cover the combat half of that equation. The Gameplay Guide covers the full loop. The guides in Builds cover forge economics. Together they form the complete survival toolkit.
Frequently Asked Questions
Quick answers to the most common Stonewards questions.
What is the most important combat skill in Stonewards?
Focus-fire discipline on the right target at the right time. Default priority: King threats, then wall breakers on active lanes, then rushers, then ranged, then grunts. Wrong focus fire lets the actual threat reach the King while you chip low-value targets.
When should I learn bastion fallback?
Read Bastion Fallback as soon as outer walls routinely break during harder mission tiers. Fallback plans prevent panicked retreats that expose the throne room when the next wave spawns.
How do combat builds differ from economy builds at the forge?
Combat builds prioritize knockback, armor, weapon damage, and ammo production upgrades. Economy builds prioritize mining yield, deposit speed, and forge randomization. The right balance shifts by mission tier and wave number.
What combat changes after wave eleven?
Wave eleven opens the extraction choice: continue in endless mode with scaling enemy health and spawn density, or return to the hub to bank progress. Endless mode combat requires more aggressive forge spending on knockback and armor.
How do I use bastion geography for better combat?
Know which segments lead directly to the King, which are secondary lanes, and which are dead ends. Defend primary lanes first, assign one flex player to inner corridors, and use elevated positions for ranged suppression.