Mines and Caves in Stonewards
Procedural tunnels, ore priorities, and return timing before the next horn sounds.
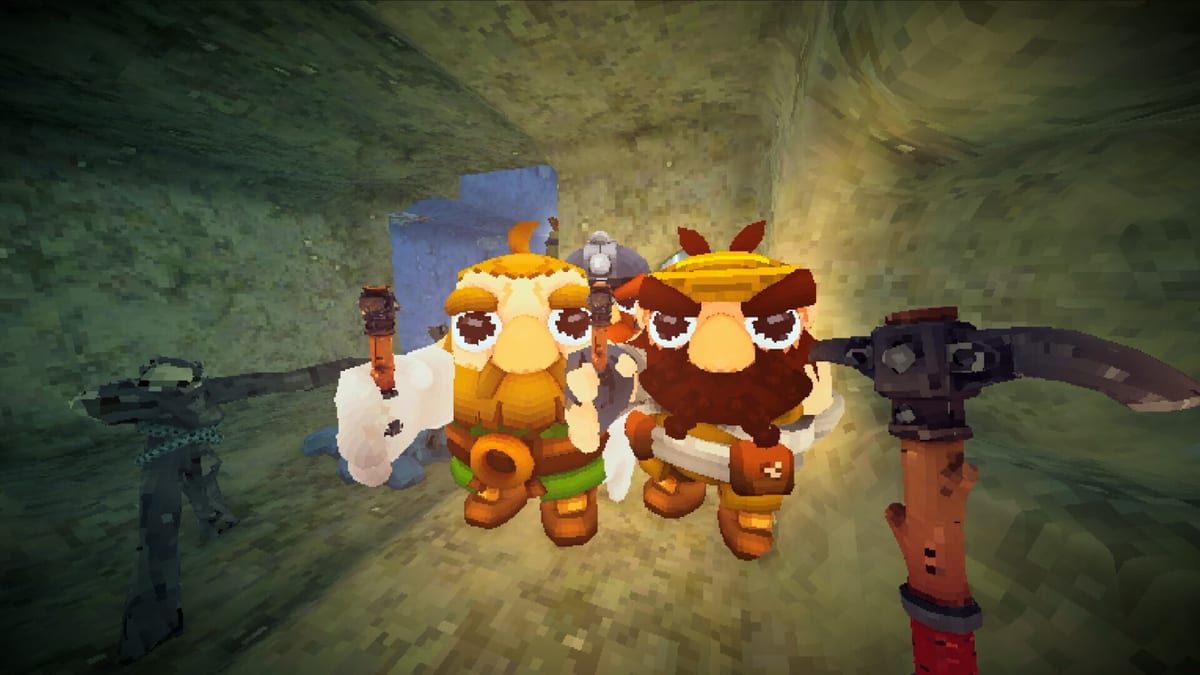
Mines and caves are Stonewards’ economy engine. When the horn stops after a wave, defenders become miners—tunneling into procedurally generated underground spaces to break ore nodes, discover hidden branches, and haul metal back to the bastion stockpile before the next assault. Mining is not a relaxed crafting menu; it is a timed race where staying too deep means your team fights the next horn one dwarf short on the surface.
How Procedural Mines Generate
Each mission generates three-dimensional mine layouts with twisting tunnels, elevation changes, and occasional hidden cave pockets. Layouts differ run to run, so memorizing a single optimal route is impossible. What you can memorize is process: entrance proximity, turnaround landmarks, and how long your character takes to reach safe depth with your current movement and mining upgrades.
Steam materials emphasize rare ores deeper inside, plus improved weapon rarity drops tied to cave distance in public patch notes. That reward curve tempts teams to push depth every window—which fails when horn audio returns before haul completion.
Mining Phase Timing
Think of every economy phase as a budget:
- Travel out and down to first profitable nodes.
- Break and collect ore along a path you can reverse quickly.
- Return and deposit at stockpile or forge before horn countdown completes.
- Surface help with last-second crafts or repairs if you returned early enough.
Audio cues matter. If your group uses voice chat, call “surfacing” when reversing so anchors know mining coverage ended. Silent teams rely on horn sound alone—often too late.
Ore Routing and Branch Choices
When tunnels fork, use these heuristics:
- Take the branch you can fully retreat without jumping puzzles unless you stacked jump upgrades.
- Prefer nodes on the return path over nodes that force backtracking through cleared rock.
- Mark mentally where you entered—first-person caves disorient quickly.
- Stop chasing rare veins if stockpile already holds enough for repairs and baseline ammo next horn.
Hidden caves can spike rewards but extend time budgets. Send only one dedicated miner while others prep surface forge work if you suspect a branch is deep.
Co-op Mining Roles
Effective groups often assign:
- Primary miner: pushes safe depth along agreed route.
- Secondary miner: clears shallow nodes near entrance for quick ore.
- Surface anchor: stays out once horn timing is tight, handling crafts.
- Runner: ferries deposited ore from stockpile to forge during overlap windows.
Demo impressions frequently describe three defenders and one miner—not because the game enforces it, but because mining buffs scale with dedicated build investment. If everyone mines shallowly, surface quality drops; if everyone stays surface, ore starves.
Solo Mining Discipline
Solo players must set stricter depth caps. A practical rule: never lose sight of the mine entrance audio mix shift—if horn prep sounds begin, reverse immediately even with nodes visible ahead. Solo failure often traces to one extra branch, not lack of combat skill.
Stack movement and mining upgrades in hub or forge when solo difficulty feels unfair; see Builds as loadout pages grow.
Linking Mining to Surface Outcomes
Ore only matters when converted:
- Ammunition for next horn.
- Wall repairs on lanes monsters used last wave.
- Stockpile deposits that trigger randomized run upgrades.
- Character upgrades at forge stations between horns.
Use Resource Priority Checklist immediately after deposit so mining gains survive contact with monsters. Mining without spend plan is how teams return rich and still lose horn six.
Stamina, Healing, and Cave Hazards
Patch notes reference stamina drain/recovery reworks and campfire healing improvements—expect mining mobility to change during Early Access. Until your current build feels stable, avoid combat inside mines unless necessary; monster pressure belongs on the bastion surface in the core loop.
Some runs may spawn underground threats or environmental hazards depending on mission type. When in doubt, prioritize return timing over perfect clearance.
Gear and Upgrade Interactions
Public previews mention ring slots with combat versus utility tradeoffs—mining speed, jump height, knockback, and similar stackable bonuses. Four-ring limits mean miners cannot also carry every combat luxury. Align ring choices with role before entering caves so you are not mid-run swapping stats at the forge while horn timers tick.
Common Mining Mistakes
- Splitting the team into unrelated deep branches without callouts.
- Ignoring shallow nodes while chasing rare ore that never reaches stockpile in time.
- Depositing ore without crafting before horn start.
- Mining through horn warnings because “just one more node” syndrome.
- Forgetting 3D verticality—some ores require jump stacks to reach safely.
Where to Go Next
Pair cave timing with Wave Defense surface assignments and Wave Prep Planner. For bastion geography after you surface, read Bastion Layout. For procedural tips from a guide perspective, see How to Mine Fast. Hub purchases that boost mining live in Hub and How to Use the Hub.
Frequently Asked Questions
Quick answers to the most common Stonewards questions.
Are Stonewards caves the same every mission?
No. Mines are procedurally generated each run. Learn timing habits and routing heuristics rather than one fixed map.
How deep should I mine before returning?
Only as deep as you can reverse before the next horn. Rare ore is worthless if you are underground when teammates need you on walls.
Does distance into caves affect loot?
Steam patch notes mention improved weapon rarity drops based on cave distance. Balance that reward with horn timing—not every run needs maximum depth.
What is the best co-op mining split?
Many groups run one dedicated miner with mining buffs and three surface-focused dwarves, but any split fails without horn callouts.
Where do I spend ore after mining?
Use [Resource Priority Checklist](/tools/resource-priority/) at stockpile—ammo, primary lane repairs, then upgrades.
How does mining relate to bastion defense?
Mining feeds forge output that fuels [Wave Defense](/combat/wave-defense/). Late returns cause under-staffed horns and forced [Bastion Fallback](/combat/bastion-fallback/).