Stonewards Tips and Tricks
Efficiency habits for mine windows, forge choices, co-op roles, and solo survival in Banana Tiger Studio's roguelite defense.
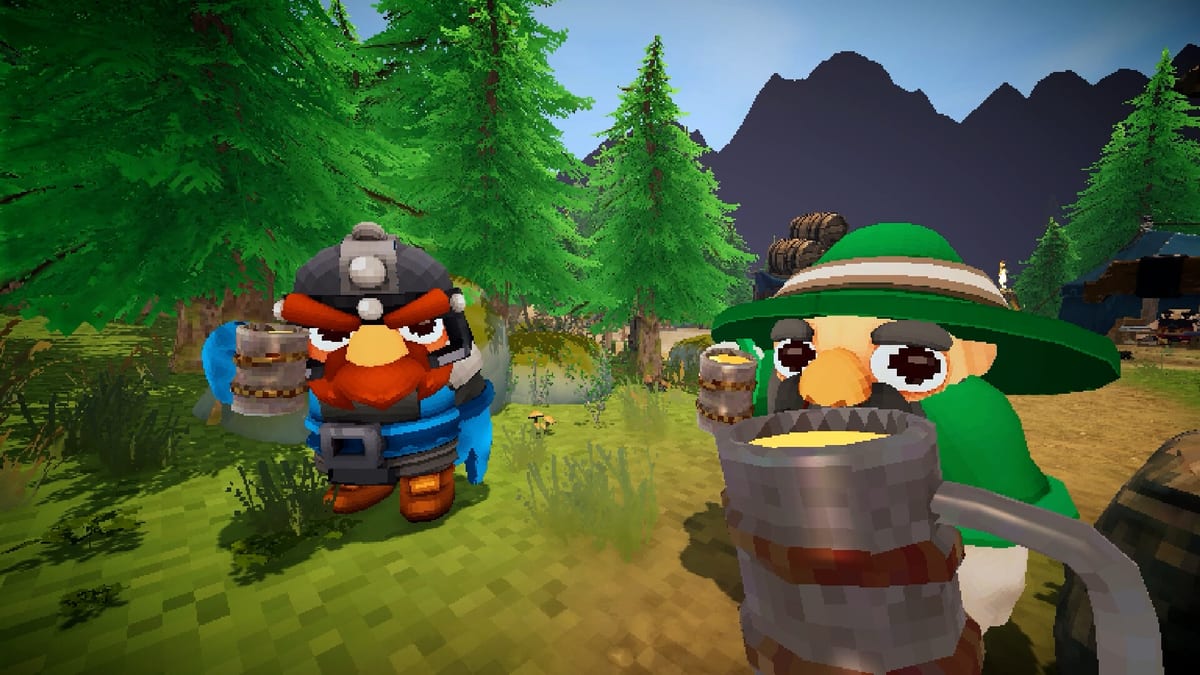
Stonewards rewards teams that treat mining, forging, and horn defense as one schedule—not three unrelated mini-games. Banana Tiger Studio’s loop is simple to describe and hard to execute: when the King dies, the run ends; when you stay underground too long, your squad faces the next wave short-handed; when you hoard forge choices, you enter combat without baseline ammo or patched walls. This page collects practical tips validated in public demo builds and Early Access previews—habits that survive balance patches even when exact numbers shift.
Respect the Mine Timer Above Greed
Procedural caves tempt players into “one more node” chains. The cost is not the ore you miss—it is the surface time you steal from forging and Bonus Card votes. Strong groups set a mine cutoff before descending: agree on a return trigger tied to wave telegraphs, ore quota, or a shared timer callout.
Tips for cleaner exits:
- Mine outward from the entrance so your return path is already broken.
- Prioritize ore types your next forge pass needs—see Resource Priority Checklist—instead of clearing every branch.
- Call “surfacing” early in co-op; late returns cause more King deaths than imperfect ore totals.
- Solo players should mine shallower than four-player squads unless hub upgrades explicitly boost solo economy.
How to Mine Fast expands routing detail; this tip is the mindset: predictable returns beat perfect caves.
Forge Baseline Before Luxury
The Blacksmith station handles forge level upgrades and ring selection. Public builds describe four ring choices per roll with a four ring slot limit—you cannot stack every buff. New players chase rare rings while entering the next wave with empty quivers and unrepaired primary lanes.
Disciplined forge order:
- Crafting Camp arrows or equivalent ammo for the next horn.
- Wall Repair stone spend on the lane monsters used last wave.
- Forge level upgrades when baseline survival is secure.
- Ring picks that fix your team’s actual failure mode—damage, economy, or defense—not generic rarity chasing.
- Recycling Camp conversions only after you know what surplus looks like post-craft.
Cross-read Forge Upgrades and Ammo and Crafting when optimizing spend. Items pages explain ore types feeding those stations.
Co-op Role Split: Three Defend, One Mine
Four-player co-op does not require rigid classes, but informal three defenders / one primary miner splits win public playtests. Three players stay surface-adjacent to shoot, repair, and intercept elites toward the King; one player commits to ore during safe windows but must surface before horn audio ramps.
Flex rules that keep the split alive:
- Rotate miner duty every horn so one player is not always blamed for late returns.
- Defenders finish campfire revives before the miner dives again—see below.
- Use voice for “horn in thirty” warnings; UI alone is easy to miss underground.
- Match characters to roles via Stonewards Characters Guide—Miner profiles suit economy duty; Warriors anchor surface lanes.
How to Co-op in Stonewards covers communication habits; Wave Prep Planner helps assign surface lanes before launch.
Bonus Card Votes Are Team Contracts
After each wave, teams enter a lobby phase to vote on Bonus Cards—team-wide modifiers before returning to the mine. Rushing the vote is a silent run killer. Treat cards like forge commits: read options aloud, pick what fixes the next horn’s predicted failure, and avoid selfish votes that help one build archetype while starving ammo globally.
If your group repeatedly dies on horn four, track whether you skipped voting to mine early. Economy buff cards mean nothing if nobody surfaced to craft arrows.
Campfire Healing and Resurrection Windows
Demo patches added campfire healing and teammate resurrection at the Campfire station between waves. This is not a passive regenerate—it’s a timed lobby action competing with forge stations and Bonus Card votes.
Tips:
- Revive downed teammates before the primary miner re-enters caves.
- Do not leave campfire idle while three players open chests at the far end of the bastion.
- Solo players lack resurrection safety nets—play conservatively near horn telegraphs because your manpower never doubles.
Combat pages cover surface pressure; campfire tips cover manpower recovery between horns.
Chest Opener and Loot Discipline
Chest Opener rolls spike power but eat attention. Assign one player to read chest outcomes while others craft and repair. Scroll and relic drops from demo patches add variance—exciting, but secondary to ammo and wall integrity. Rings and Relics helps interpret long-term value; mid-run, function first.
Wave Eleven Decision: Endless or Hub
Many missions escalate through eleven waves, then offer endless mode or return to the hub for meta rewards. Tips for the fork:
- Choose hub extraction when quest progress or shop purchases matter more than leaderboard horns.
- Choose endless only with stable ammo economies and patched walls—greed wipes teams who were barely surviving horn eleven.
- Discuss the fork before horn ten so nobody panic-clicks endless without consent.
The Stonewards Hub explains what persists after extraction.
Solo Hardness Is Real—Play Smaller
Solo is supported, but publicly described as hard because one body must mine, forge, and defend sequentially. Solo tips:
- Take moderate hub missions until mine timers feel automatic.
- Pre-craft extra arrow stacks before deep nodes.
- Repair the primary King lane before cosmetic wall segments.
- Skip endless mode until solo hub upgrades raise your floor—see Best Early Builds.
Community feedback may bring solo tuning during Early Access—follow Updates Hub after major patches.
King Death Is Instant—Play Like It
No comeback phase exists when monarch health hits zero. Tips tied to that rule:
- Defenders body-block lanes toward the throne room when walls break—see Bastion Fallback.
- Do not assume earlier easy horns predict later focus fire—elites prioritize the King.
- Spend stone on approach lanes, not rear battlements monsters never touch.
Session Improvement Loop
- Run once and note why the King died—walls, ammo, mine timing, or chaotic votes.
- Read the specialized guide for that failure on Guides Hub.
- Change one habit next run, not five.
- Spend hub currency targeting the same bottleneck—How to Use the Hub.
- Track patch changes on Demo Changelog and Early Access Launch so tips stay aligned with mechanics.
Quick Reference Table
| Problem | Try this first |
|---|---|
| Late mine returns | Shared cutoff callouts; shallower routes |
| Empty ammo on horn start | Crafting Camp before ring gambling |
| King exposed | Wall Repair on primary lane; fallback positioning |
| Downed teammate next horn | Campfire revive before mining |
| Random co-op chaos | Three defend / one mine split with rotation |
| Solo wipes | Lower mission tier; extra arrow pre-craft |
Stonewards tips age with patches, but schedule discipline—mine, forge, vote, heal, defend—outlasts individual stat values. Pair this page with Review buying context and Map navigation when learning new bastions.
Frequently Asked Questions
Quick answers to the most common Stonewards questions.
What is the best co-op role split in Stonewards?
Informal three defenders and one primary miner works well in four-player groups. Rotate miner duty each horn and surface before wave telegraphs.
How many rings can I equip from the Blacksmith?
Public builds describe four ring slot choices per roll with a four ring limit total. Prioritize rings after baseline ammo and wall repairs.
When should we vote on Bonus Cards?
During the post-wave lobby before returning to mines. Rushing votes to mine early often costs more than one extra ore node.
Can campfire resurrect solo players?
Campfire revival helps co-op teammates between waves. Solo lacks that safety net—play conservatively near horn timers.
Is solo harder than co-op in Stonewards?
Yes. Solo demands one player handle mining, forging, and defense sequentially. Lower mission tiers and hub upgrades help—see [Best Early Builds](/builds/best-early-builds/).
What happens after wave eleven?
Many missions offer endless mode or hub extraction for meta rewards. Decide as a team before the milestone horn—see [The Stonewards Hub](/map/hub/).