Stonewards Monster Types
Enemy behaviors, focus-fire priorities, and how different monsters punish weak walls or slow fallbacks.
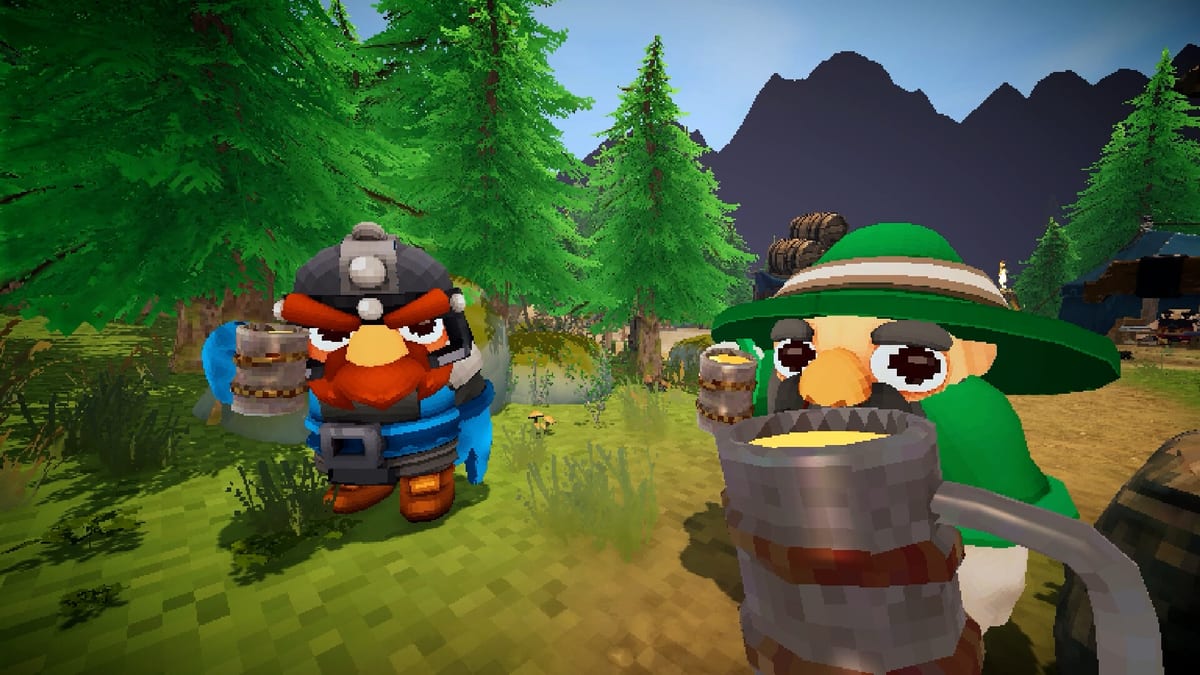
Monsters in Stonewards share one objective: reach the King inside the bastion. They do not care about your mining build, forge RNG, or hub cosmetics—only whether a lane opens long enough to deliver damage to the throne. Banana Tiger Studio escalates waves over a mission, mixing grunt pressure with specialized behaviors that punish slow repairs, scattered focus fire, and greedy cave timers. This page groups enemy behavior into practical types so your team knows what to shoot first when horns get loud.
Design Philosophy You Can Read in Combat
Store materials describe monsters as relentless wall testers. That framing matters: many enemies are not trying to out-aim you in a duel—they are trying to convert structural damage into King access. If your team treats every foe as equal priority, breachers and fast rushers slip through while you chip away at low-threat targets. Wave defense wins come from identifying which type is executing the win condition this second.
Public demos also include boss-class threats with distinct pacing—often appearing at milestone horns where economy mistakes finally catch up. Boss names and visuals may change during Early Access, but the tactical job remains: stabilize adds first or burn the boss before a lane collapses, depending on which failure mode is closer.
Grunt Assault Units
Grunts form the baseline horde during early and mid horns. They have modest health, straightforward pathing along primary lanes, and low individual damage—but they stack into focus-fire problems when walls are already cracked. Grunts teach lane discipline: if primary segments are down, grunts do not need special abilities to walk the King.
How to respond: Maintain sustained arrow fire down the main approach, repair before density spikes, and avoid chasing stray single grunts while a pack pushes the primary lane.
Wall Breakers and Siege Pressure
Wall breakers—or any enemy whose attacks chunk bastion segments quickly—are priority one when outer defenses are already damaged. They convert your repair debt into irreversible breaches faster than grunts alone. Teams that ignore breakers while farming kill counts on easy targets often trigger Bastion Fallback prematurely.
How to respond: Call out breaker spawns immediately, stack knockback or explosive consumables if forged, and spend repair ore on the lane they are attacking—not opposite walls that look damaged but see no traffic.
Rushers and Flank Threats
Rushers move faster than the main pack, sometimes spawning from secondary lanes or appearing after partial breaches. Their job is to punish spread-out defenders and reach inner corridors before slow players rotate. Rushers are why secondary lane awareness matters even when primary firefights look stable.
How to respond: Keep a flex defender mobile near inner choke points, use stagger or knockback upgrades if your forge rolled them, and do not assume outer walls alone will slow rushers once segments hit zero integrity.
Ranged and Harassment Units
Ranged monsters pressure defenders on walls and near the King without always entering melee range. They reward players who understand cover along bastion walkways and punish stationary miners who linger surface-side without ammo. Harassment units also make solo play harder: without a teammate to peel threats, you must break mining early to deal with chip damage accumulating on critical targets.
How to respond: Prioritize ranged units when they target repair crews or the King’s vicinity, use elevation where Bastion Layout provides it, and craft enough ammo to suppress them before they force repositioning during breaker spikes.
Swarm Waves and AoE Value
Some horns emphasize volume over individual toughness. Swarm waves are where stackable knockback, explosive arrows, or area consumables outperform single-target precision. If your post-wave forge votes skew purely single-target, swarm horns feel unfair until you adapt crafting.
How to respond: Craft or select upgrades with cleave value before known density horns, communicate ammo spend so one player is not left dry mid-swarm, and repair choke points where swarms funnel rather than wide open segments they bypass anyway.
Boss-Class Encounters
Preview builds reference boss fights at later milestones—often after sustained success through earlier horns. Bosses typically combine high health with mechanics that stress both DPS and structure: add spawns, lane-wide pressure, or forced movement away from the King. Color-coded boss names in early demos were a work-in-progress UI detail; treat bosses as timing exams for your economy, not isolated duels.
How to respond: Decide pre-fight whether adds or the boss itself represents the faster King kill, assign one player to stabilize adds if co-op, and enter milestone horns with full ammo and primary lane repairs—not leftover ore plans from horn three.
Focus Fire Priority Framework
When multiple types appear together, use this default priority ladder and adjust callouts live:
- Anything currently damaging the King or inside inner corridors.
- Wall breakers on active primary lanes.
- Rushers past outer segments or heading toward throne choke points.
- Ranged units suppressing repairs or defenders.
- Grunts and swarms once structural threats are controlled.
This ladder breaks if your team lacks ammo—then crafting and fallback matter more than perfect priority. See Resource Priority Checklist to prevent empty quivers before mixed-type horns.
Monster Scaling Across a Run
Enemy count and difficulty rise as you survive successive horns. Early types teach mechanics; later compositions combine breakers, rushers, and swarms to exploit earlier repair mistakes. Demo playtests mention optional endless play after milestone wave eleven—treat everything after mid-run as a forgiveness check on how you spent mining windows.
Co-op Callouts That Help
Short voice lines beat long explanations mid-horn:
- “Breaker primary”
- “Rusher inner”
- “Range on King side”
- “Boss adds first”
- “Ammo low, hold choke”
Pair callouts with Wave Defense assignments so everyone knows which lane is primary before spawns begin.
Related Reading
For positioning when types breach inward, read Bastion Fallback. For horn timing and crafting cadence, read Wave Defense. For geography that creates choke points, read Bastion Layout. For upgrade choices that counter knockback or jump swarms, browse Builds as those pages expand.
Frequently Asked Questions
Quick answers to the most common Stonewards questions.
Do monsters always attack the same bastion lane?
Primary lanes tend to repeat, but secondary spikes and rushers punish teams that ignore non-primary segments. Learn your bastion in [Bastion Layout](/map/bastion-layout/).
Which monster type should I shoot first?
Default priority: King threats, then wall breakers on active lanes, then rushers, then ranged, then grunts. Adjust if adds will end the run faster than the boss.
Are there bosses in Stonewards?
Public demos reference boss encounters at later milestone horns. Names and visuals may change during Early Access, but milestone pacing is part of the design.
How do swarms change loadout choices?
Swarm horns reward knockback, explosives, or other area tools. If forge votes skew single-target only, craft at least one crowd-control option before late horns.
Why do monsters feel harder in solo?
Solo lacks split roles—rushers and ranged units punish slow mining returns and absent flex defenders. Co-op helps but still requires callouts.
Where do monster details update after patches?
This page tracks behavioral categories, not datamined stat tables. Check Steam patch notes and update wiki pages when new enemy types ship.