Stonewards Best Characters
Tier ranking every Stonewards class for solo runs, co-op roles, mining, healing, and damage in Early Access.
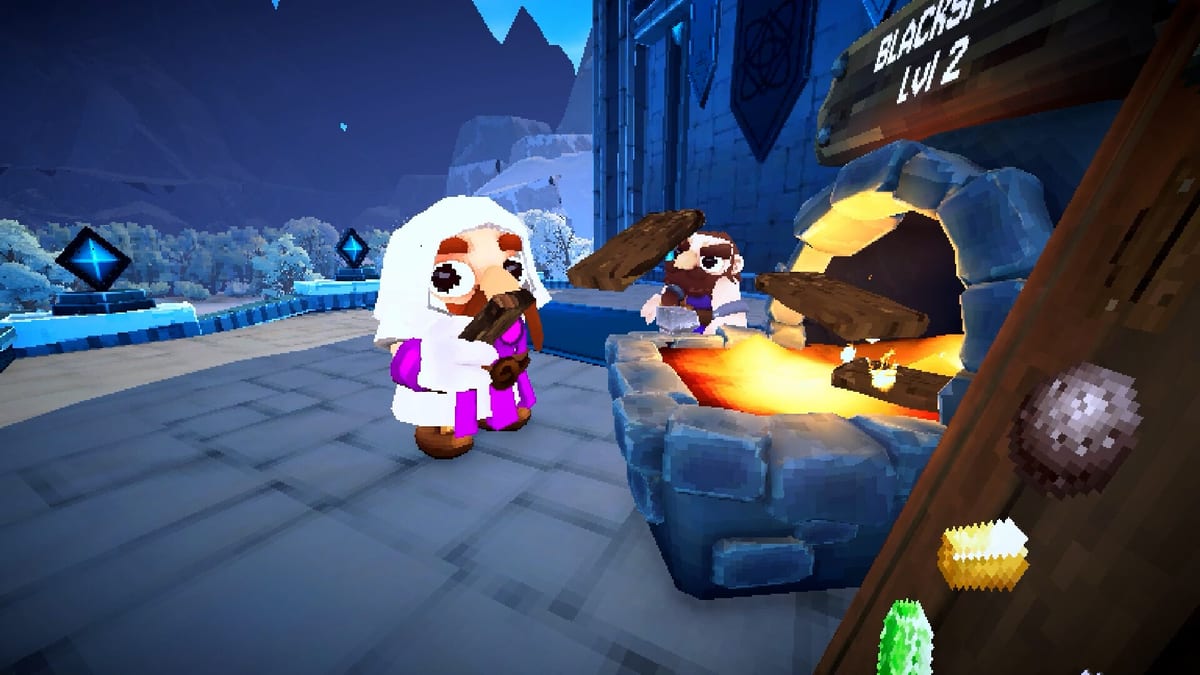
Players searching “best class Stonewards” or “character tier list” usually want a snapshot of how Miner, Warrior, Archer, Artificer, Healer, Hunter, Mage, and Rogue feel in current Early Access builds. This page ranks the roster with explicit caveats for solo and co-op roles. Stonewards class balance is not a static ladder—hotfix 0.1.6 added a Character Screen update and hotfix 0.1.7 introduced class reworks, so revisit this page when new builds ship through the Updates Hub. Read alongside Stonewards Characters Guide for unlock paths and squad basics.
How We Rank Stonewards Characters
A tier list is only useful when the ranking criteria are explicit. We score each dwarf on five axes that match how Banana Tiger Studio describes Early Access class design:
- Solo viability — can one player complete dig–forge–defend loops without squad support?
- Co-op role clarity — does the class fill a slot that the rest of the squad needs?
- Economy contribution — does the ability move ore, ammo, or repair spend?
- King defense — does the ability keep monsters off the throne?
- Patch volatility — has the class been touched by recent hotfixes?
Tier letters mean: S = dominant choice, A = strong default, B = solid niche pick, C = situational. Rankings below reflect Early Access builds 0.1.6–0.1.7 as documented on SteamDB and public patch notes.
Stonewards Character Tier List
| Class | Tier | Solo | Co-op role | Best at |
|---|---|---|---|---|
| Miner | S | Excellent | Economy | Cave runs, ore yield, surface flex |
| Warrior | S | Strong | Defense | Wall holding, elite intercepts, King body-block |
| Healer | A | Good | Sustain | Campfire windows, revive chains, late-wave recovery |
| Artificer | A | Strong | Burst damage | AoE clears, bomb economy, chest opener |
| Archer | A | Average | Ranged damage | Kiting, choke holds, ranged boss pressure |
| Mage | B | Average | Burst | Elite focus fire, mid-range burst windows |
| Hunter | B | Average | Versatile | Tracking targets, mid-tier wave clear |
| Rogue | C | Average | Skirmish | Pickoff enemies, mobility plays, lower-tier solo |
Tier-by-Tier Notes for Every Class
Miner — S Tier
The Miner remains the textbook solo character because their unique ability amplifies the economy phase that every run depends on. Public demo sessions and Early Access feedback consistently rank Miner at the top for solo viability: faster cave trips mean more ore, more forge upgrades, and more repaired walls before the next horn. In co-op, Miner anchors the mine slot in the common three-defend / one-mine split described in Tips and Tricks. Read How to Mine Fast for cave routing that maximizes Miner potential.
Warrior — S Tier
Warrior is the textbook co-op defender. Their unique ability layers on top of wall duty and elite intercepts, which is exactly the surface work that fails most often when a team is full of economy specialists. Solo Warriors work but require tighter mine timing because they do not generate extra ore. Pair Miner plus Warrior as the safe default squad for new groups, then layer Healer or Artificer on top.
Healer — A Tier
Healer is the campfire and revive specialist added to the broader roster after Early Access launch. Their value scales with how often your group wipes between waves. In solo runs, Healer smooths attrition between campfire windows; in co-op, a dedicated Healer turns near-wipes into clean revives and saves forge currency that would otherwise go to resurrect. Read Campfire and Revive for how the healer’s ability interacts with patch 0.1.10 revive fixes.
Artificer — A Tier
Artificer shines in AoE clears and bomb economy. Their ability lets one player cover large monster packs at choke points, which is perfect for solo runs that need burst damage without co-op support. Co-op groups benefit from Artificer because they consolidate the chest opener and bomb roles onto one dwarf—see Ammo and Crafting for the resource math behind the bomb economy. The hotfix 0.1.5 gold coin drop adjustment from Artificer bombs changed how often this class spikes; treat gold income as a tuning lever Banana Tiger Studio uses on this class.
Archer — A Tier
Archer is the ranged lane holder. Their unique ability supports kiting and choke-point pressure, which complements Warrior front-line duty. Archer viability in solo depends heavily on the mission tier; lower-tier solo runs can succeed with careful positioning, but high-tier solo often demands the heal sustain of Miner or Warrior. In co-op, Archer adds the ranged damage slot that the default Miner-plus-Warrior pair lacks.
Mage — B Tier
Mage trades survivability for burst damage on elites and bosses. Their unique ability is excellent when used on schedule—boss waves, choke-point breaches—but mediocre when wasted on trash mobs. Co-op groups that want elite focus fire should bring a Mage; solo Mage requires strict ammo budgeting. Pair with Bosses and Elites for when the burst windows actually trigger.
Hunter — B Tier
Hunter is the versatile skirmisher in the middle of the roster. Their ability works for tracking priority targets and supporting mid-tier wave clears. Hunter is a fine third pick on co-op squads that already have a Miner and a Warrior, but rarely the optimal solo or duo choice because Hunter’s niche overlaps with Archer without matching either economy or pure defense. Hotfix 0.1.6 quality-of-life updates affected how Hunter abilities read in the Character Screen—re-check tooltips after patches.
Rogue — C Tier
Rogue is the mobility skirmisher with pickoff potential. They shine on lower-tier solo missions and as a flex slot in well-oiled co-op squads that already have economy, defense, healing, and burst covered. Rogue is not a bad class, but the Early Access roster has stronger generalist options. Pick Rogue when you want a challenge run or a fourth co-op slot that brings mobility rather than raw stats.
Solo Picks by Mission Tier
- Easy missions: Miner, Warrior, Artificer all clear easy solo content. Pick the role that matches your preferred timing window.
- Medium missions: Miner stays dominant; Healer becomes viable because attrition starts to compound.
- Hard missions: Miner economy plus Warrior defense still wins; Healer or Artificer as the third slot.
- Endless mode: see Endless Mode Strategy for how tier rankings shift past wave eleven.
Co-op Squad Building
A balanced four-player squad should cover economy, defense, healing, and burst:
- Miner — anchor the economy slot. Always bring one.
- Warrior — anchor the surface defense slot. Always bring one.
- Healer or Artificer — third slot covers sustain or AoE burst.
- Archer, Mage, Hunter, or Rogue — flex slot based on mission tier and patch meta.
Mixing four Miners or four Warriors still loses runs; the roster only works when unique abilities reinforce—not replace—mine timers and King defense. Co-op role splits are detailed in How to Co-op in Stonewards.
How Hotfix 0.1.6 and 0.1.7 Changed the Meta
Hotfix 0.1.6 added a Character Screen update that clarified ability tooltips, which made it easier to evaluate Hunter, Mage, and Rogue in solo practice. Hotfix 0.1.7 focused on class reworks and coin distribution, which disproportionately affected Artificer bomb economy and Healer campfire windows. When Banana Tiger Studio ships the next hotfix, expect this tier list to move one tier in either direction for any class touched by class changes. Always cross-check the Early Access Hotfixes page before locking in a main.
Caveats and Patch Sensitivity
Tier rankings in a live Early Access build are inherently temporary. Caveats to keep in mind:
- Solo rankings assume mission tiers and hub upgrades are equal across runs.
- Co-op rankings assume players communicate mine returns and campfire revives.
- Patch notes can flip a class from S to A in a single hotfix—treat the table above as a snapshot of Early Access builds 0.1.6–0.1.7.
- Some classes require unlocks through hub meta progression; see How to Use the Hub for currency and mission requirements.
When in doubt, run two missions with each class on a familiar difficulty before committing. Personal preference beats generic tier lists because Stonewards rewards timing discipline more than raw class power.
Pair This Page With
- Stonewards Characters Guide — unlock paths, squad basics, and ability tooltips.
- Best Early Builds — first-run loadouts once you have picked a class.
- Upgrade Tier List — which forge bonuses to chase regardless of class.
- How to Co-op in Stonewards — squad splits that match class roles.
- Endless Mode Strategy — tier shifts past wave eleven.
Frequently Asked Questions
Quick answers to the most common Stonewards questions.
Which class is the best in Stonewards Early Access?
Miner and Warrior are the strongest generalist choices for solo and co-op in Early Access builds 0.1.6–0.1.7. Healer and Artificer fill the next-best slots for groups that need sustain or burst damage.
Is Miner still top tier after Early Access launch?
Yes. Miner's economy ability remains the most consistent solo advantage, and their value in the co-op mine slot is still unmatched. See [How to Mine Fast](/guides/how-to-mine/) to maximize Miner potential.
What is the best solo class for hard missions?
Miner stays dominant at hard mission tiers because economy advantages compound across long runs. Warrior works as a solo alternative if you prefer surface defense over cave efficiency.
Should I play Healer in solo runs?
Healer is viable in solo because campfire sustain offsets attrition between waves, but Miner economy still clears hard content faster when timed well. Pick Healer for challenge runs or when you want smoother revive windows.
How often does the Stonewards tier list change?
Roughly every hotfix. Hotfixes 0.1.6 and 0.1.7 each shifted class balance. Follow [Early Access Hotfixes](/updates/early-access-hotfixes/) for the latest patches.
Where do I unlock additional Stonewards characters?
Through hub meta progression—missions, quest rewards, and shop purchases. Full unlock paths are tracked in [Stonewards Characters Guide](/guides/characters/).