How to Use the Hub in Stonewards
Characters, missions, shop, and persistent progression between dig–defend runs.
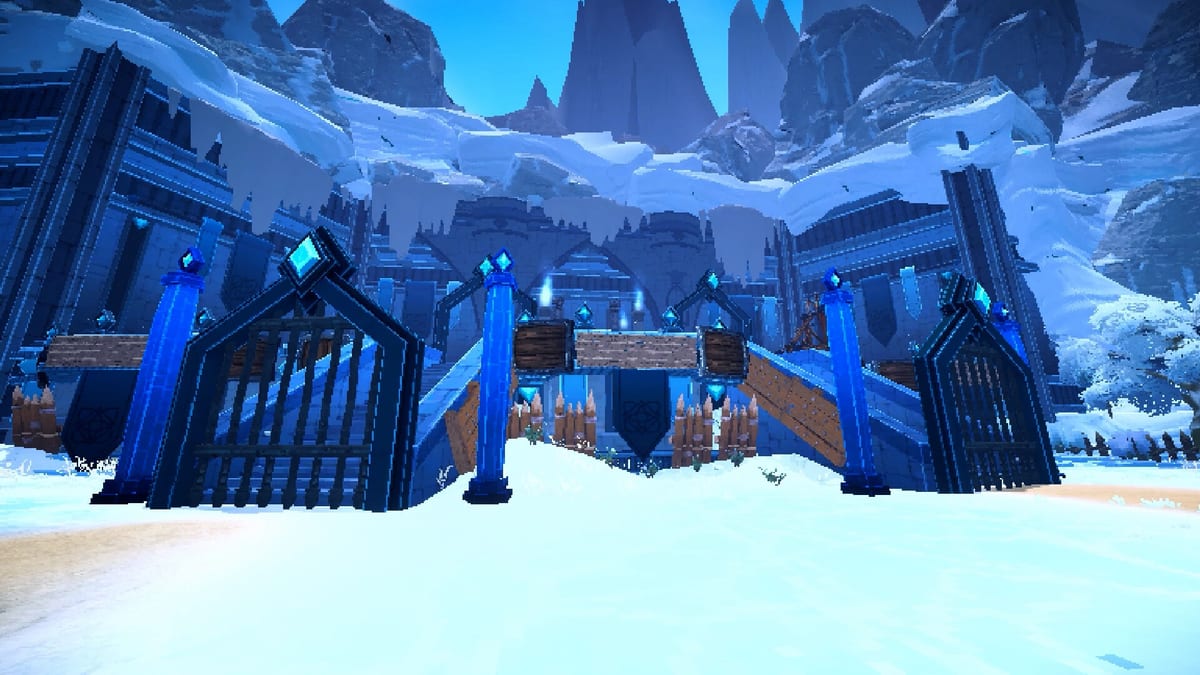
Between runs in Stonewards, you return to a hub area that persists across attempts. Banana Tiger Studio uses this space for characters, missions, shop purchases, and meta progression that complements—but does not replace—the in-run dig–forge–defend loop. Players who skip the hub repeat naked runs and wonder why waves feel impossible; players who over-invest in hub flavor without learning mine timers still lose when the King dies in minutes. This guide explains what the hub is for, how to spend resources deliberately, and how hub choices interact with surface defense and cave mining.
Hub vs In-Run: Two Layers of Power
Understanding the split prevents frustration:
| Layer | Resets when | Examples |
|---|---|---|
| In-run | Run ends (especially King death) | Forge ammo, wall repairs mid-attempt, most randomized upgrades |
| Hub | Persists between runs | Character unlocks, mission progress, shop gear, currency stock |
King death ends the run immediately on the in-run layer, but hub progress usually remains. That is why repeated failures still advance meta if you bank rewards and shop wisely.
First Hub Visit Checklist
After one or two runs—win or lose—walk the hub and locate:
- Character selection or roster — who you bring into the next attempt.
- Mission board or selector — difficulty, objectives, and modifiers.
- Shop or vendor — persistent equipment, consumables, or unlocks.
- Currency displays — what you earn from missions versus run performance.
Exact UI labels may shift in Early Access patches ahead of August 11, 2026, but the design intent is stable: prepare outside, execute inside.
Characters
Hub characters (or equivalents) shape how you enter runs—starting gear, passive traits, or mission compatibility depending on build version. Early on:
- Pick one character and learn their baseline before spreading currency across the roster.
- Match character strengths to your team’s role plan from How to Co-op in Stonewards—miners favor mobility, anchors favor defense stats if offered.
- Revisit choices when Builds pages document synergies with forge upgrades.
Do not assume new characters fix fundamental timer mistakes. Hub power widens margins; it does not replace How to Mine Fast discipline.
Missions
Missions gate difficulty and objectives. Selecting the wrong mission creates fake difficulty:
- Objective missions may require surviving waves while completing a task—read text before queuing with a pub group.
- Escalation missions spike faster than practice modes—learn on gentler options first.
- Repeat farming may be valid for currency if rewards justify time—avoid burnout on missions your hub power cannot support.
Align mission choice with what you practiced. If your team just learned King lane repairs from How to Defend the King, pick missions that reward defensive success before speed-run modifiers.
Shop and Economy
Shop stock converts persistent currency into repeatable advantages—better starting ammo, repair kits, mining tools, or stat bumps depending on implementation. Spending rules of thumb:
- Fix your last failure mode — died to ammo starvation? Buy forge-related starters. Lost King to breaches? Buy repair or defense starters.
- One major purchase beats three minor cosmetics if numbers are unclear in patch notes.
- Save for unlock thresholds when the UI shows a large tier jump—partial spends sometimes trap currency in weak tiers.
Track what you bought; if three runs fail the same way, hub spending is not targeting the bottleneck.
Planning a Hub → Run Session
Efficient session flow:
- Review last run loss (King death cause).
- Spend hub currency on that cause.
- Select mission matching team skill and hub power.
- In-run: execute How to Play Stonewards loop without chasing new hub distractions mid-attempt.
- Return to hub, bank rewards, repeat.
Co-op groups should spend and select missions together—mixed hub power across friends feels like bad balance when it is actually mismatched preparation.
Hub Knowledge vs Combat Skill
Hub progression raises floors; aim and positioning raise ceilings. You need both:
- Hub-heavy players with weak chokes still lose when elites leak—train Combat and Controls.
- Skill-heavy players ignoring hub repeat the same gear deficits—bank upgrades.
Tools and External Planning
As the wiki grows, Tools may host mission reward tables or shop planners. Until then, keep simple notes: mission name, hub spend, King death cause. Patterns emerge after five entries.
Map and Build Integration
Hub unlocks sometimes expose new mission maps or forge categories. When that happens, cross-read Map for layout notes and Builds for upgrade paths that use new hub items. A hub unlock that enables a forge line is worthless if miners never deliver ore on time.
Demo and Early Access Expectations
The Steam demo may limit hub depth compared to full Early Access from Banana Tiger Studio. Some vendors or characters might be locked behind release flags. Treat unavailable hub features as preview content rather than missing bugs.
When Early Access launches, expect economy passes—prices, mission rewards, and character rosters may change. Re-run Getting Started mentally after major patches to see if hub flow shifted.
Common Hub Mistakes
- Skipping hub entirely after losses and repeating identical runs.
- Buying flavor upgrades before fixing ammo or repair deficits.
- Queuing hard missions to “skip grind” while King dies on wave two.
- Split party mission picks without discussing objectives in co-op.
Return to the Loop
The hub exists to make the next descent into procedural caves and the next wave defense smarter—not to replace them. Once you spend and select, the run still demands synchronized mining, forging, and King protection. Close the menu, queue with your team, and apply what you bought where it matters: ammo counts, wall integrity, and telegraph discipline on the way back from the mine.
Frequently Asked Questions
Quick answers to the most common Stonewards questions.
Does hub progress save if the King dies?
Generally yes—hub currency, unlocks, and mission progress persist between runs. In-run forge work and most upgrades reset when the run ends.
When should I start using the hub seriously?
After one or two runs, once you know whether you fail to mining, defense, or economy. Spend on your actual bottleneck.
Can I skip the hub and still win?
Early demo missions maybe, but repeating naked runs hits difficulty walls quickly. Hub gear widens margins for wave and mine timing.
How do missions affect co-op?
Mission choice applies to the group. Pick objectives and difficulty everyone understands—see [How to Co-op in Stonewards](/guides/how-to-coop/).
What hub purchases help King defense most?
Buy what matches your failure log: repair and defense starters if breaches kill the King; ammo and forge starters if DPS starvation is the issue.
Where do I learn in-run mining and defense after hub prep?
Return to [How to Mine Fast](/guides/how-to-mine/) and [How to Defend the King](/guides/how-to-defend-king/) for execution during attempts.